Going “Pro” with RStudio Server Open Source
RStudio is the go-to tool for programmers working in R. Frequently organizations will want to centralize their R work or provide web-based access to a compute environment. Although RStudio Server has an “open source edition”, most of the useful administrative functionality is locked behind the rather-expensive RStudio Server Pro version ($10k USD/year). This price isn’t sustainable for many organizations, or might not otherwise be worth it if there are only a few potential users. We will cover how to setup and administer the free version of RStudio Server in a professional manner, and use Linux’s features to unlock most of the functionality from the “Pro” version.
And before you ask, yes, this is all perfectly in line with RStudio’s open source licensing. Many of these changes are also useful if you’ve got a license for RStudio Server Pro, particularly the reverse proxy configuration.
Setting up a base installation⌗
I’m going to assume you’ve already got a fresh installation of CentOS 7 ready to go.
In my case, I’ve installed CentOS in a GNOME Boxes VM on my laptop,
normally you’d be SSH’ed into a server and setting things up that way.
We’ll start by installing R, RStudio, and several development headers required for many R packages,
in this case tidyverse and devtools.
Note that this tutorial assumes you are working as the root user
(since pretty much every command we will need to run requires sudo privileges).
yum update
yum install epel-release
# install R plus some useful development headers for R (required for tidyverse + devtools)
yum install R openssl-devel libcurl-devel libxml2-devel wget
# download RStudio Server and install it
wget https://download2.rstudio.org/rstudio-server-rhel-1.1.453-x86_64.rpm
yum install rstudio-server-rhel-1.1.453-x86_64.rpm
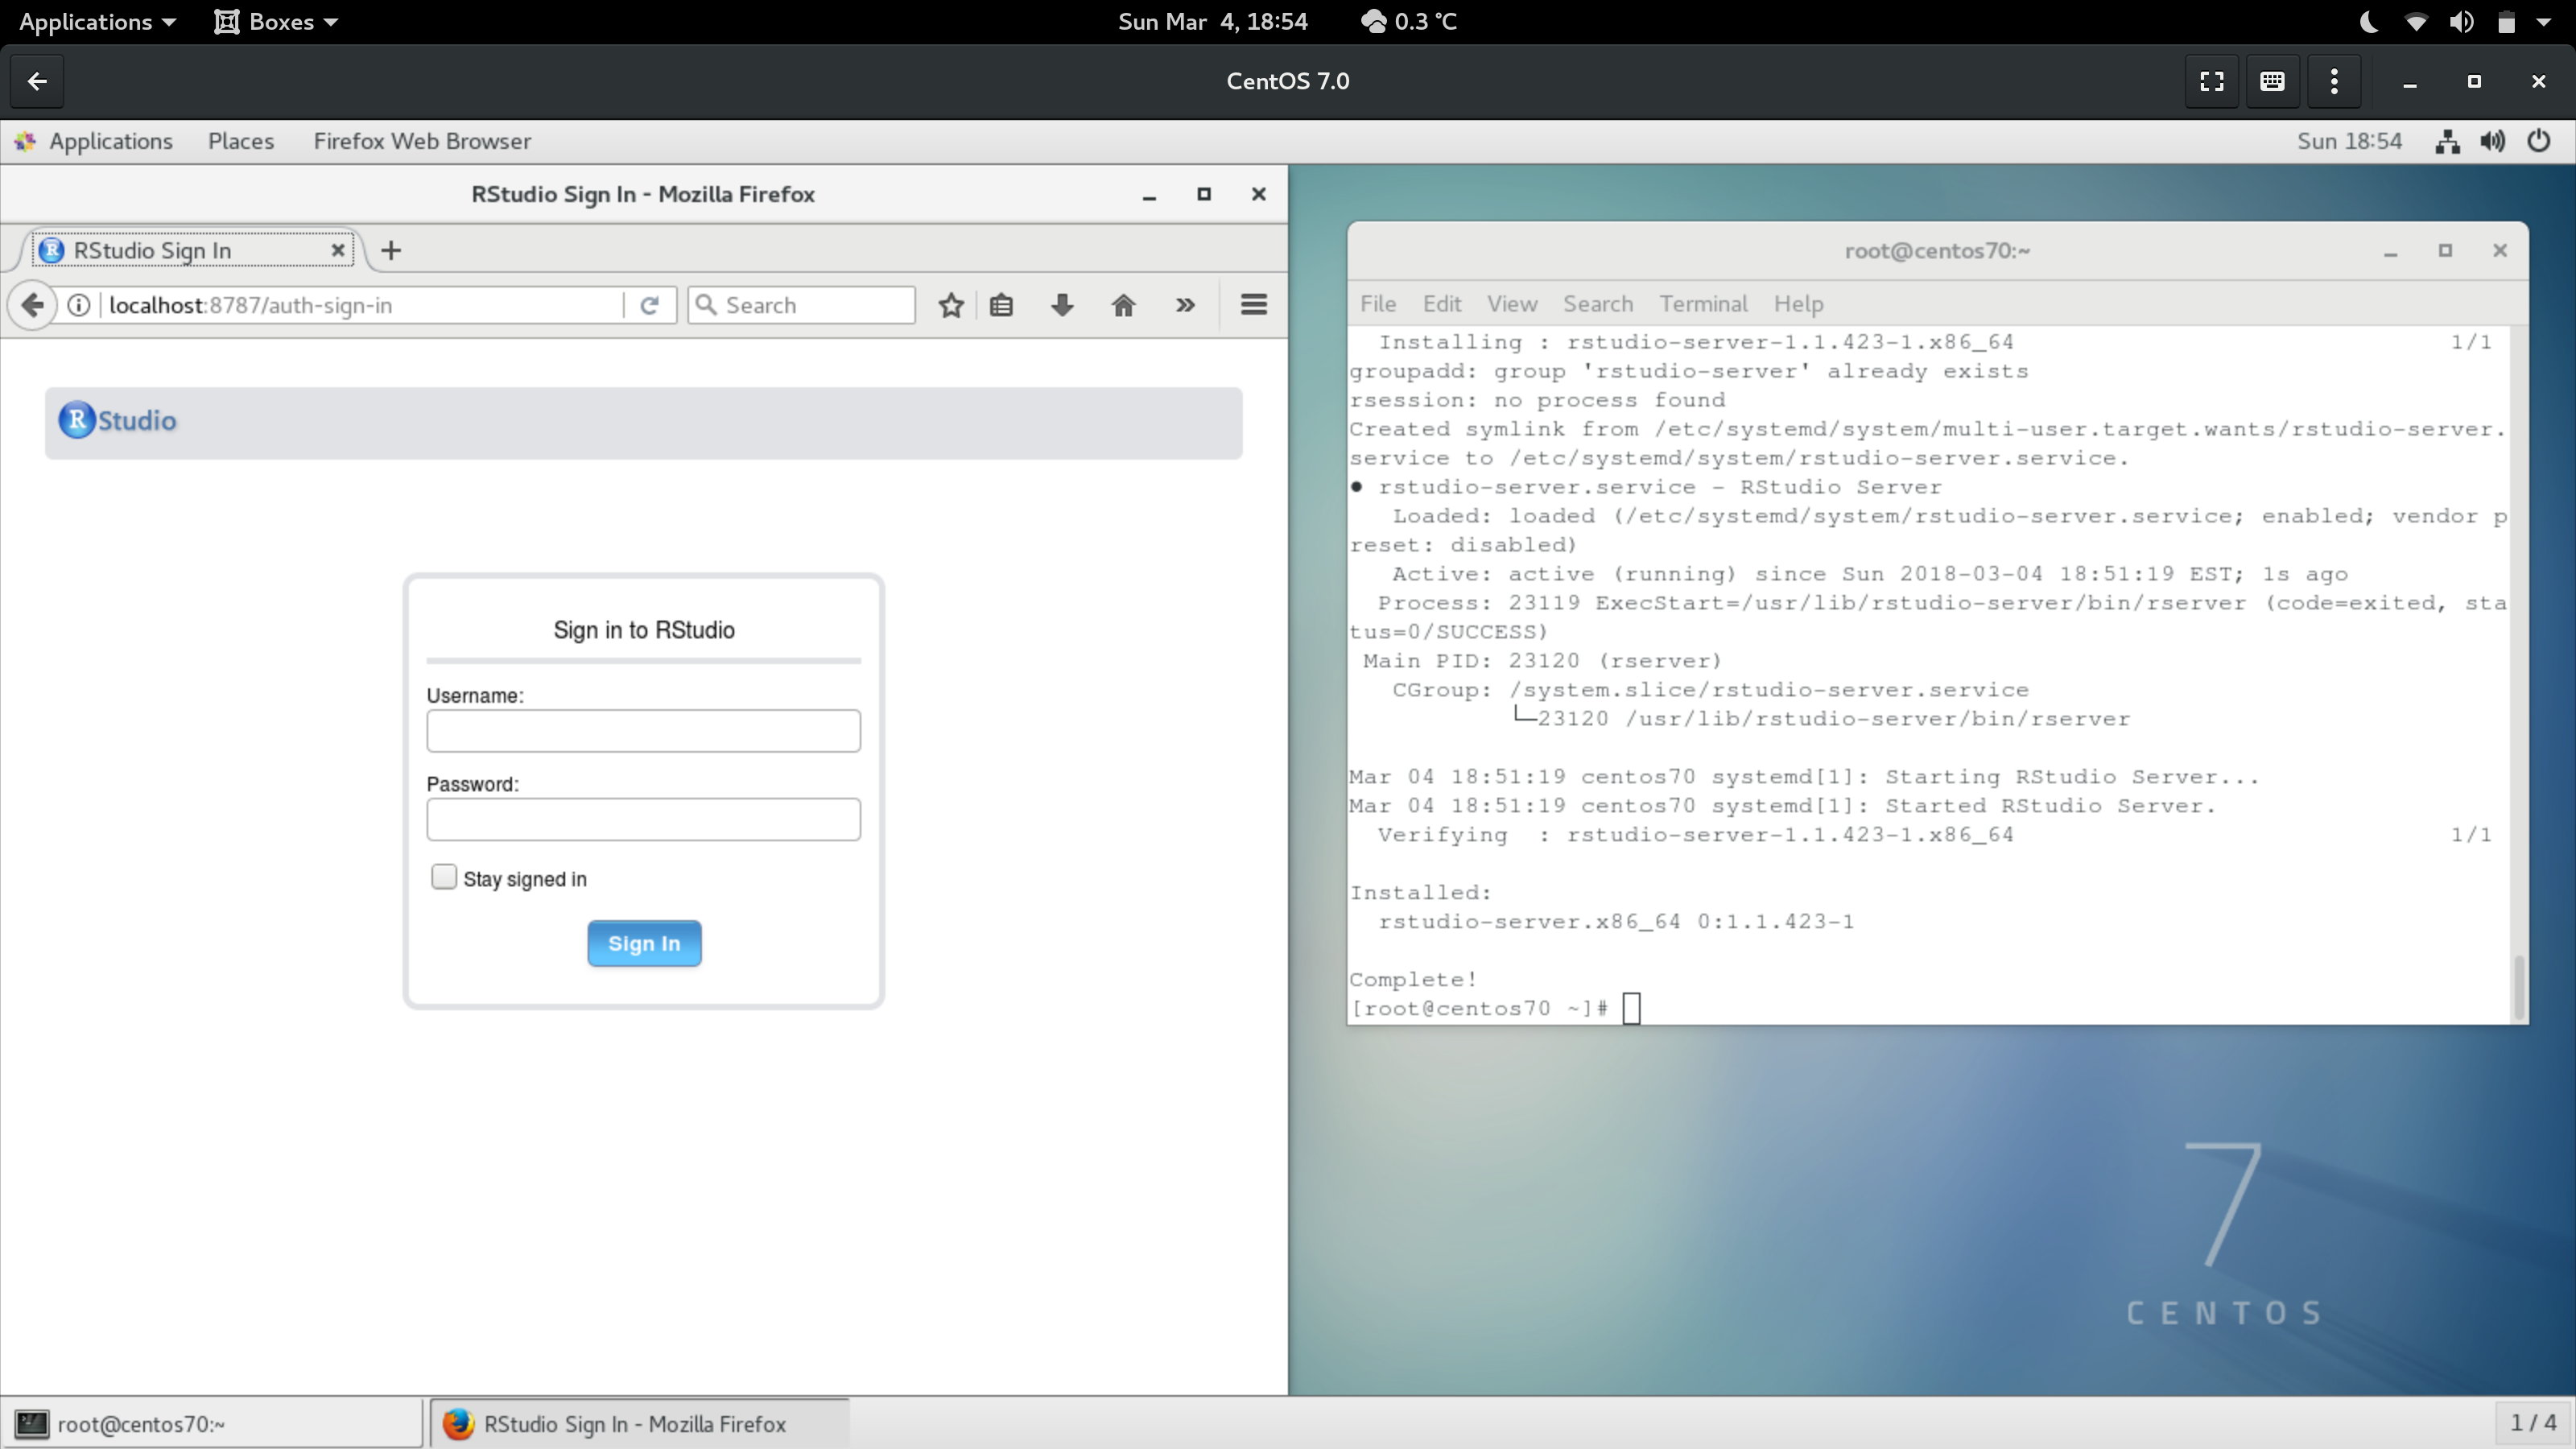
RStudio Server should now be running at port 8787 on your server. You can test that the installation worked by visiting http://localhost:8787/ in a browser.
This is the basic installation of RStudio Server Open Source Edition. However, there’s a number of glaring issues with this installation:
- RStudio Server doesn’t know about LDAP users or any users not directly on the server
(i.e. any users not created with
useradd). - RStudio is being hosted over a non-standard port (8787).
- The website is being served over HTTP - any passwords entered/network traffic will be in plain-text. This is BAD.
- There are no resource limits for users. There’s a known bug in RStudio (both Pro and Open Source Edition) where loading >10GB of data into a session will lock that user out of RStudio indefinitely. (RStudio will try to save large sessions to disk, then time out while attempting to re-load them).
- We might want to host RStudio as part of another website (for example, https://your.website.name/rstudio/).
Authenticating network users via PAM⌗
RStudio Server uses PAM for authentication. PAM (Pluggable Authentication Modules) are used on Linux to break authentication and sign-in into a set of configurable modules. Without going too deep into things, we can change how RStudio authenticates users by changing its PAM configuration. (If you don’t care about letting people use network credentials like LDAP, feel free to skip this section.)
RStudio’s PAM configuration is stored at /etc/pam.d/rstudio.
Let’s look at the current config:
cat /etc/pam.d/rstudio
#%PAM-1.0
auth      requisite      pam_succeed_if.so uid >= 500 quiet
auth      required       pam_unix.so nodelay

account   required       pam_unix.so
Translating the PAM config into plain-english, this config does two things:
- Authentication will succeed if you are attempting to authenticate a user with a UID greater than 500 (this is done to prevent low-numbered system users from logging in - you don’t want any users to logging in as root, for instance).
- Authentication and user accounts are handled by the UNIX authentication module (
pam_unix.so).
Before you do anything else, create a backup of your old RStudio PAM module:
cp /etc/pam.d/rstudio /etc/pam.d/rstudio.bak
If we want to have our installation authenticate different types of users,
we’ll need to change RStudio’s PAM authentication. To change authentication
methods, say from UNIX users to LDAP, all we’d need to use is change the
authentication module from pam_unix.so to a new module like pam_ldap.so.
(Note: this will remove the ability of local UNIX users to login to RStudio,
and only allow LDAP users to login exclusively.)
Example /etc/pam.d/rstudio LDAP auth config:
#%PAM-1.0
auth      requisite      pam_succeed_if.so uid >= 500 quiet
auth      required       pam_ldap.so nodelay

account   required       pam_ldap.so
What happens if we want to allow a mix of both network (LDAP) and local
(UNIX) users to authenticate? Ideally, you’d want a config that matched how
the system normally authenticated users over SSH/whatever. The good news is
that this config already exists: /etc/pam.d/password-auth. We can use other
PAM files like this one in our existing RStudio config:
#%PAM-1.0
auth      requisite      pam_succeed_if.so uid >= 500 quiet
auth      include        password-auth

account   include        password-auth
The changes should take effect immediately for all new sessions
(using either our LDAP or system-auth PAM config).
To be specific, a “new session” in the context of RStudio means either
logging in with no existing rsession processes,
or clicking the “power” button in RStudio Server to start a new session/process on the server.
If something, goes wrong, you can just restore the old RStudio PAM config
by copying over your backup from earlier.
Hosting RStudio Server securely over HTTPS⌗
You typically do not ever want a web application like RStudio exposed to the general internet. The best practice is to host RStudio behind a webserver like Apache httpd or Nginx in what’s called a reverse proxy configuration. When you setup a reverse proxy for an application, it means that you are setting things up so that the only way of accessing the application is via your proxy webserver (which is typically more secure than the application itself). We’ll set up access to RStudio Server in this manner using httpd, and configure the firewall to allow access to only the ports we specify.
First, let’s make sure that our firewall is up, running, and starts on boot.
systemctl start firewalld
systemctl enable firewalld
systemctl status firewalld
# should show something like the following:
● firewalld.service - firewalld - dynamic firewall daemon
   Loaded: loaded (/usr/lib/systemd/system/firewalld.service; enabled; vendor preset: enabled)
   Active: active (running) since Fri 2018-03-02 15:28:37 EST; 2 days ago
     Docs: man:firewalld(1)
 Main PID: 710 (firewalld)
   CGroup: /system.slice/firewalld.service
           └─710 /usr/bin/python -Es /usr/sbin/firewalld --nofork --nopid
Let’s configure the firewall to allow access to our server over ports 80 (HTTP) and 443 (HTTPS).
firewall-cmd --add-service=http --permanent
firewall-cmd --add-service=https --permanent
firewall-cmd --reload
Alright our firewall is running and will happily allow connections to our machine. Let’s install and configure the Apache HTTPD server to host RStudio.
yum install httpd mod_ssl
systemctl start httpd
systemctl enable httpd
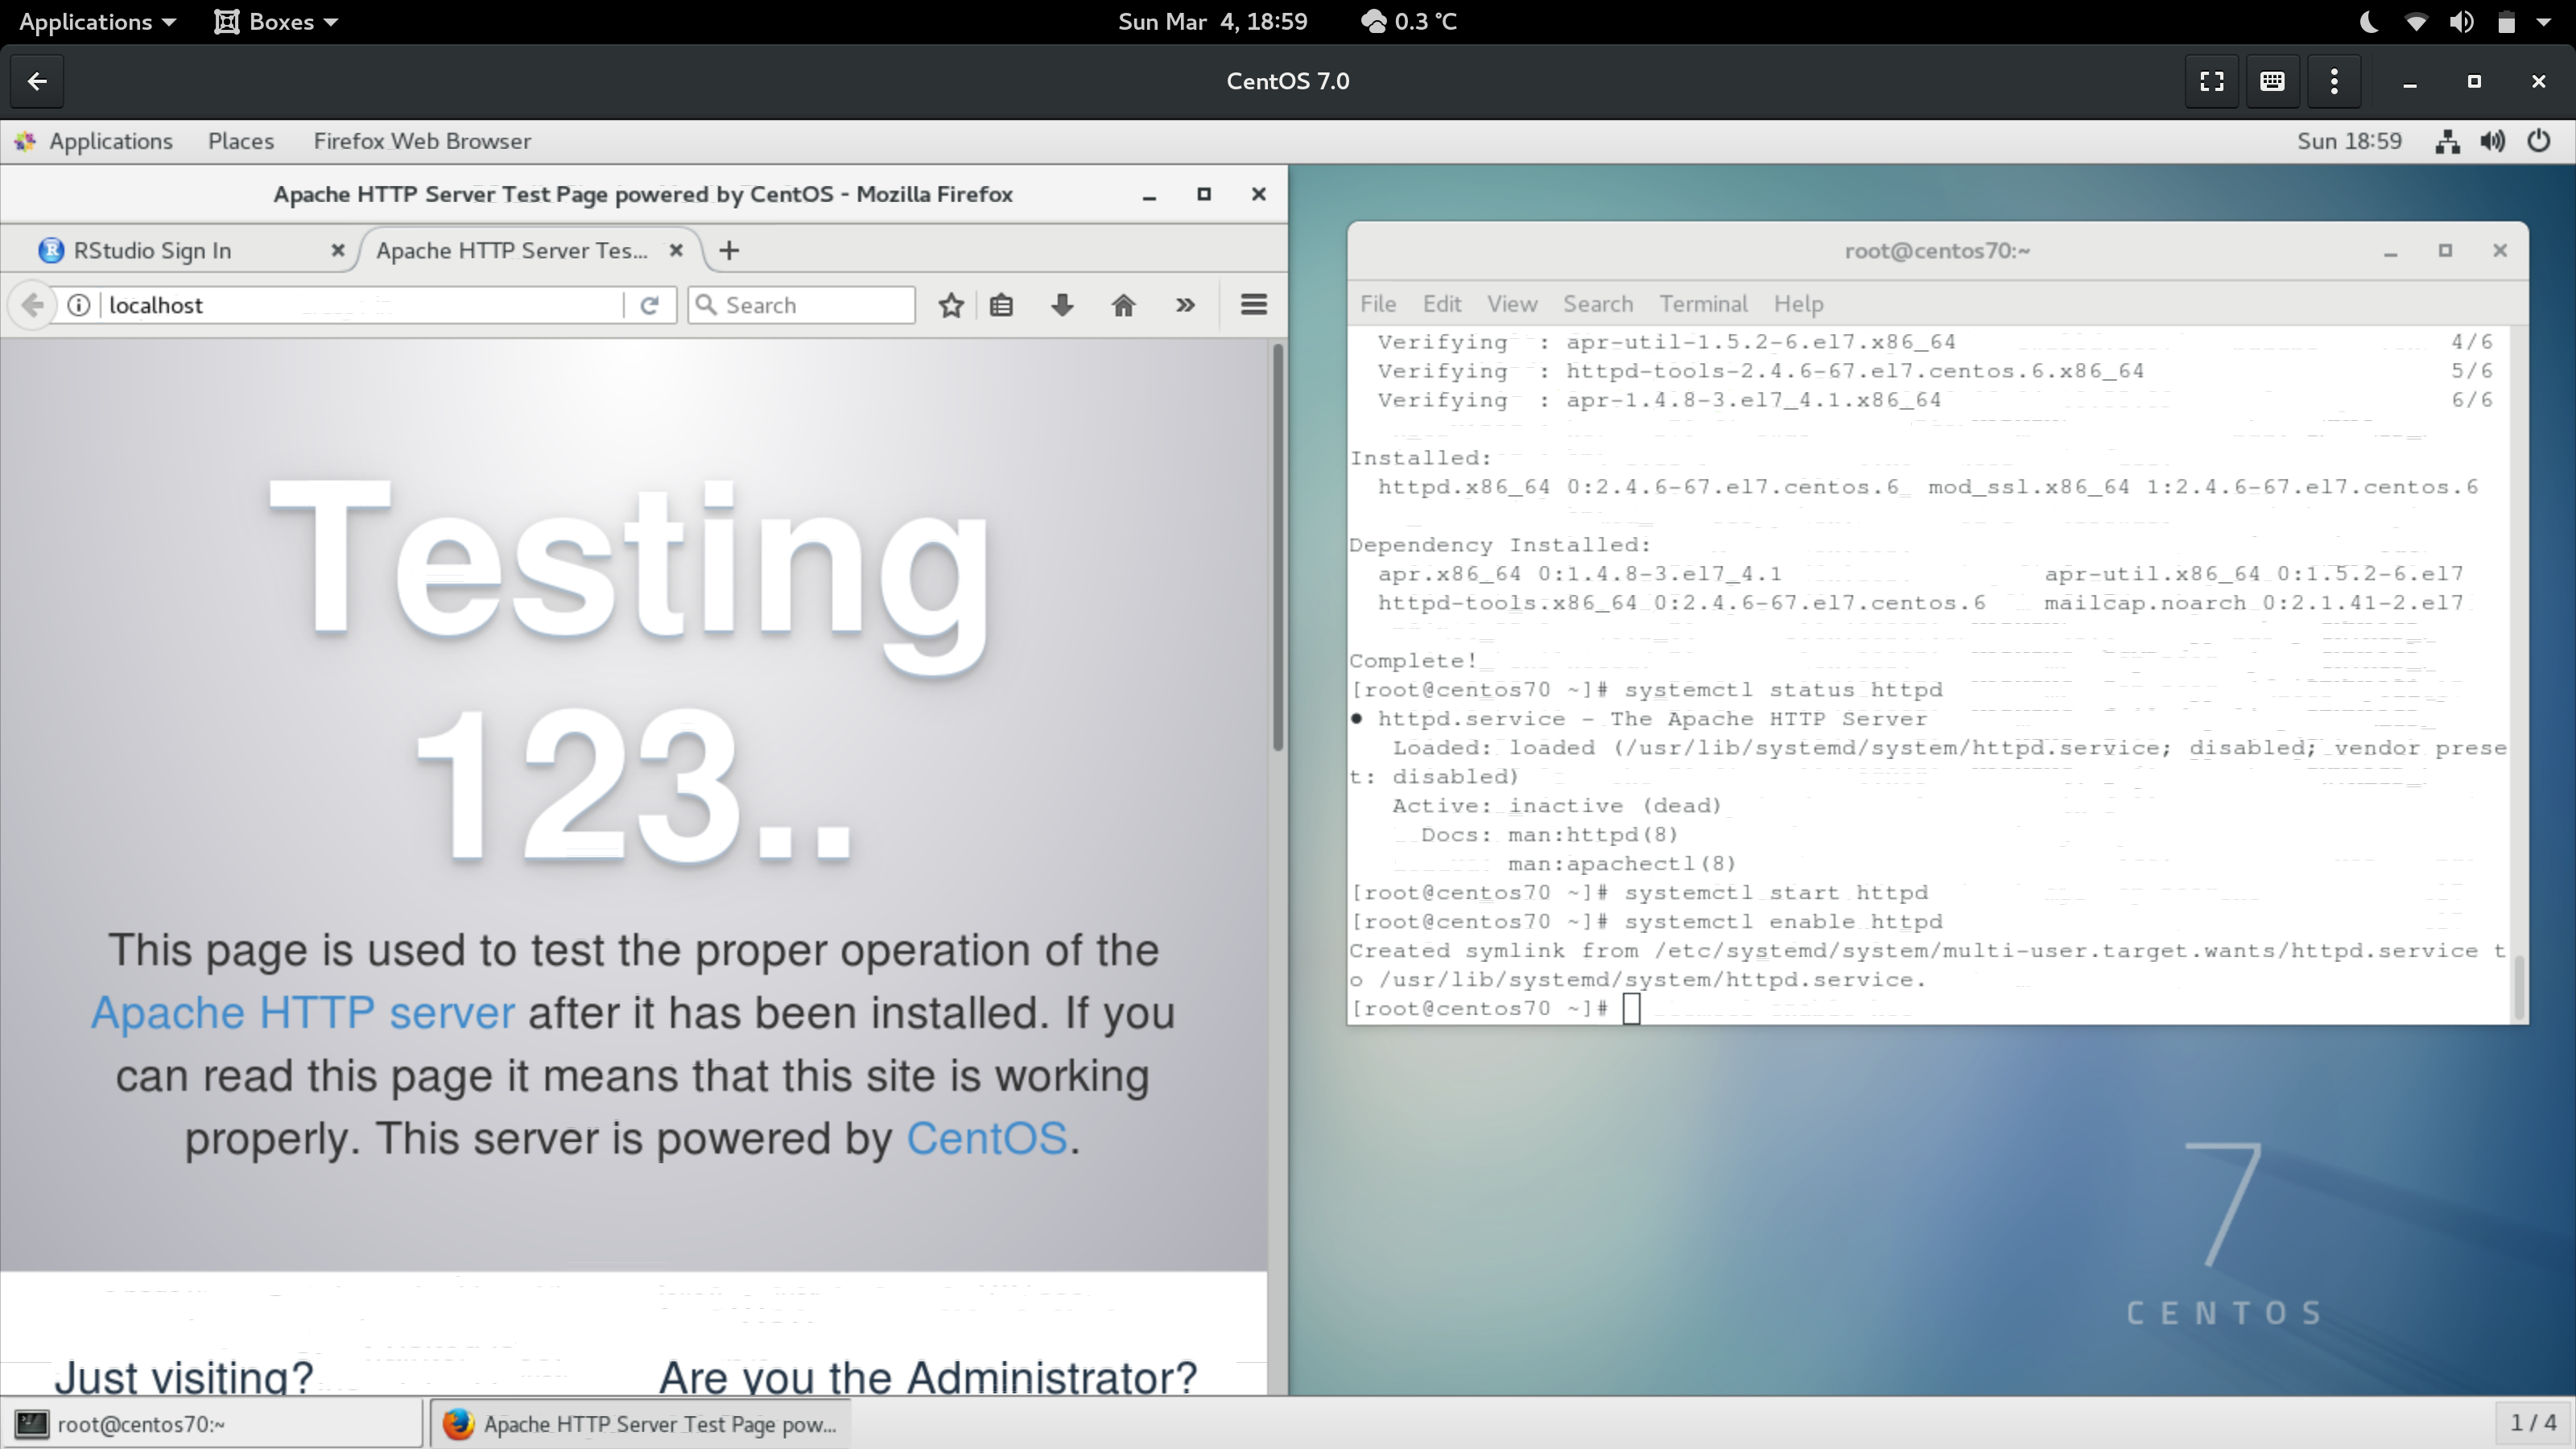
Ok, we’ve got an HTTP server (if you want to check, visit localhost in a
browser - it should appear just like the image above).
We just need to tell it how to host RStudio. Let’s create a new
Apache VirtualHost that exposes RStudio to the web. You’ll need an SSL
certificate for this step. If you don’t have an SSL certificate, you can get
one from Let’s Encrypt using the instructions here:
https://certbot.eff.org/#centosrhel7-apache.
If Let’s Encrypt isn’t an option (say if you’re doing this on a VM like me),
we can create a self-signed SSL certificate with the following.
For consistency’s sake, I’ll put it in /etc/rstudio:
openssl req -x509 -newkey rsa:4096 -keyout /etc/rstudio/rstudio_key.pem -out /etc/rstudio/rstudio_cert.pem -days 3650 -nodes
# enter whatever you want for the questions since it's a self-signed cert

# NOTE: please ensure that your certificates are not world-readable, you do not
# want random users to be able to read your certificates. Make sure that only
# root can read the certificates.
chmod 700 /etc/rstudio/*.pem
Now that we have an SSL certificate, let’s setup our RStudio VirtualHost.
Create a new file /etc/httpd/conf.d/rstudio.conf, with the following content.
This will host RStudio at your server’s base directory,
for instance https://website.name.here:
<VirtualHost *:80>
# redirect all port 80 traffic to 443
RewriteEngine on
ReWriteCond %{SERVER_PORT} !^443$
RewriteRule ^/(.*) https://%{HTTP_HOST}/$1 [NC,R,L]
</VirtualHost>

<VirtualHost *:443>
# configure SSL
SSLEngine on
SSLCertificateFile /etc/rstudio/rstudio_cert.pem
SSLCertificateKeyFile /etc/rstudio/rstudio_key.pem
# use if you have a real cert
# SSLCertificateChainFile /etc/rstudio/rstudio_cert_bundle.crt

# disable weak SSL ciphers
SSLProtocol -ALL +TLSv1.2
SSLCipherSuite HIGH:!MEDIUM:!aNULL:!MD5:!SEED:!IDEA:!RC4
SSLHonorCipherOrder on
TraceEnable off

# host rstudio
ProxyPreserveHost on
ProxyRequests off
RewriteCond %{HTTP:Upgrade} =websocket
RewriteRule /(.*)	ws://localhost:8787/$1  [P,L]
RewriteCond %{HTTP:Upgrade} !=websocket
RewriteRule /(.*)	http://localhost:8787/$1 [P,L]
ProxyPass / http://localhost:8787/
ProxyPassReverse / http://localhost:8787/
RequestHeader set X-Forwarded-Proto "https"
</VirtualHost>
If you want to host RStudio under a subdirectory (say https://website.name.here/rstudio/), your conf should look something like this:
<VirtualHost *:80>
# redirect all port 80 traffic to 443
RewriteEngine on
ReWriteCond %{SERVER_PORT} !^443$
RewriteRule ^/(.*) https://%{HTTP_HOST}/$1 [NC,R,L]
</VirtualHost>

<VirtualHost *:443>
# configure SSL
SSLEngine on
SSLCertificateFile /etc/rstudio/rstudio_cert.pem
SSLCertificateKeyFile /etc/rstudio/rstudio_key.pem
# use if you have a real cert
# SSLCertificateChainFile /etc/rstudio/rstudio_cert_bundle.crt

# disable weak SSL ciphers
SSLProtocol -ALL +TLSv1.2
SSLCipherSuite HIGH:!MEDIUM:!aNULL:!MD5:!SEED:!IDEA:!RC4
SSLHonorCipherOrder on
TraceEnable off

# extra redirects for the RStudio subdirectory
Redirect /rstudio /rstudio/
Redirect /auth-sign-in /rstudio/auth-sign-in
Redirect /auth-sign-out /rstudio/auth-sign-out
# some redirects for RStudio Server Pro, if you've got a license
Redirect /s /rstudio/s
Redirect /admin /rstudio/admin

# Catch RStudio redirecting improperly from the auth-sign-in page
<If "%{HTTP_REFERER} =~ /auth-sign-in/">
  RedirectMatch ^/$	/rstudio/
</If>

# host rstudio
ProxyPreserveHost on
ProxyRequests off
RewriteCond %{HTTP:Upgrade} =websocket
RewriteRule /rstudio/(.*)	ws://localhost:8787/$1  [P,L]
RewriteCond %{HTTP:Upgrade} !=websocket
RewriteRule /rstudio/(.*)	http://localhost:8787/$1 [P,L]
ProxyPass /rstudio/ http://localhost:8787/
ProxyPassReverse /rstudio/ http://localhost:8787/
RequestHeader set X-Forwarded-Proto "https"
</VirtualHost>
Note: the RStudio Admin Guide instructions on how to host RStudio under a subdirectory are actually wrong here. This config solves a longstanding bug where RStudio does not properly redirect users to and from its authentication pages.
To apply the new config, we’ll restart Apache and perform a config change to SELinux to allow httpd to proxy RStudio.
setsebool -P httpd_can_network_connect on
systemctl restart httpd
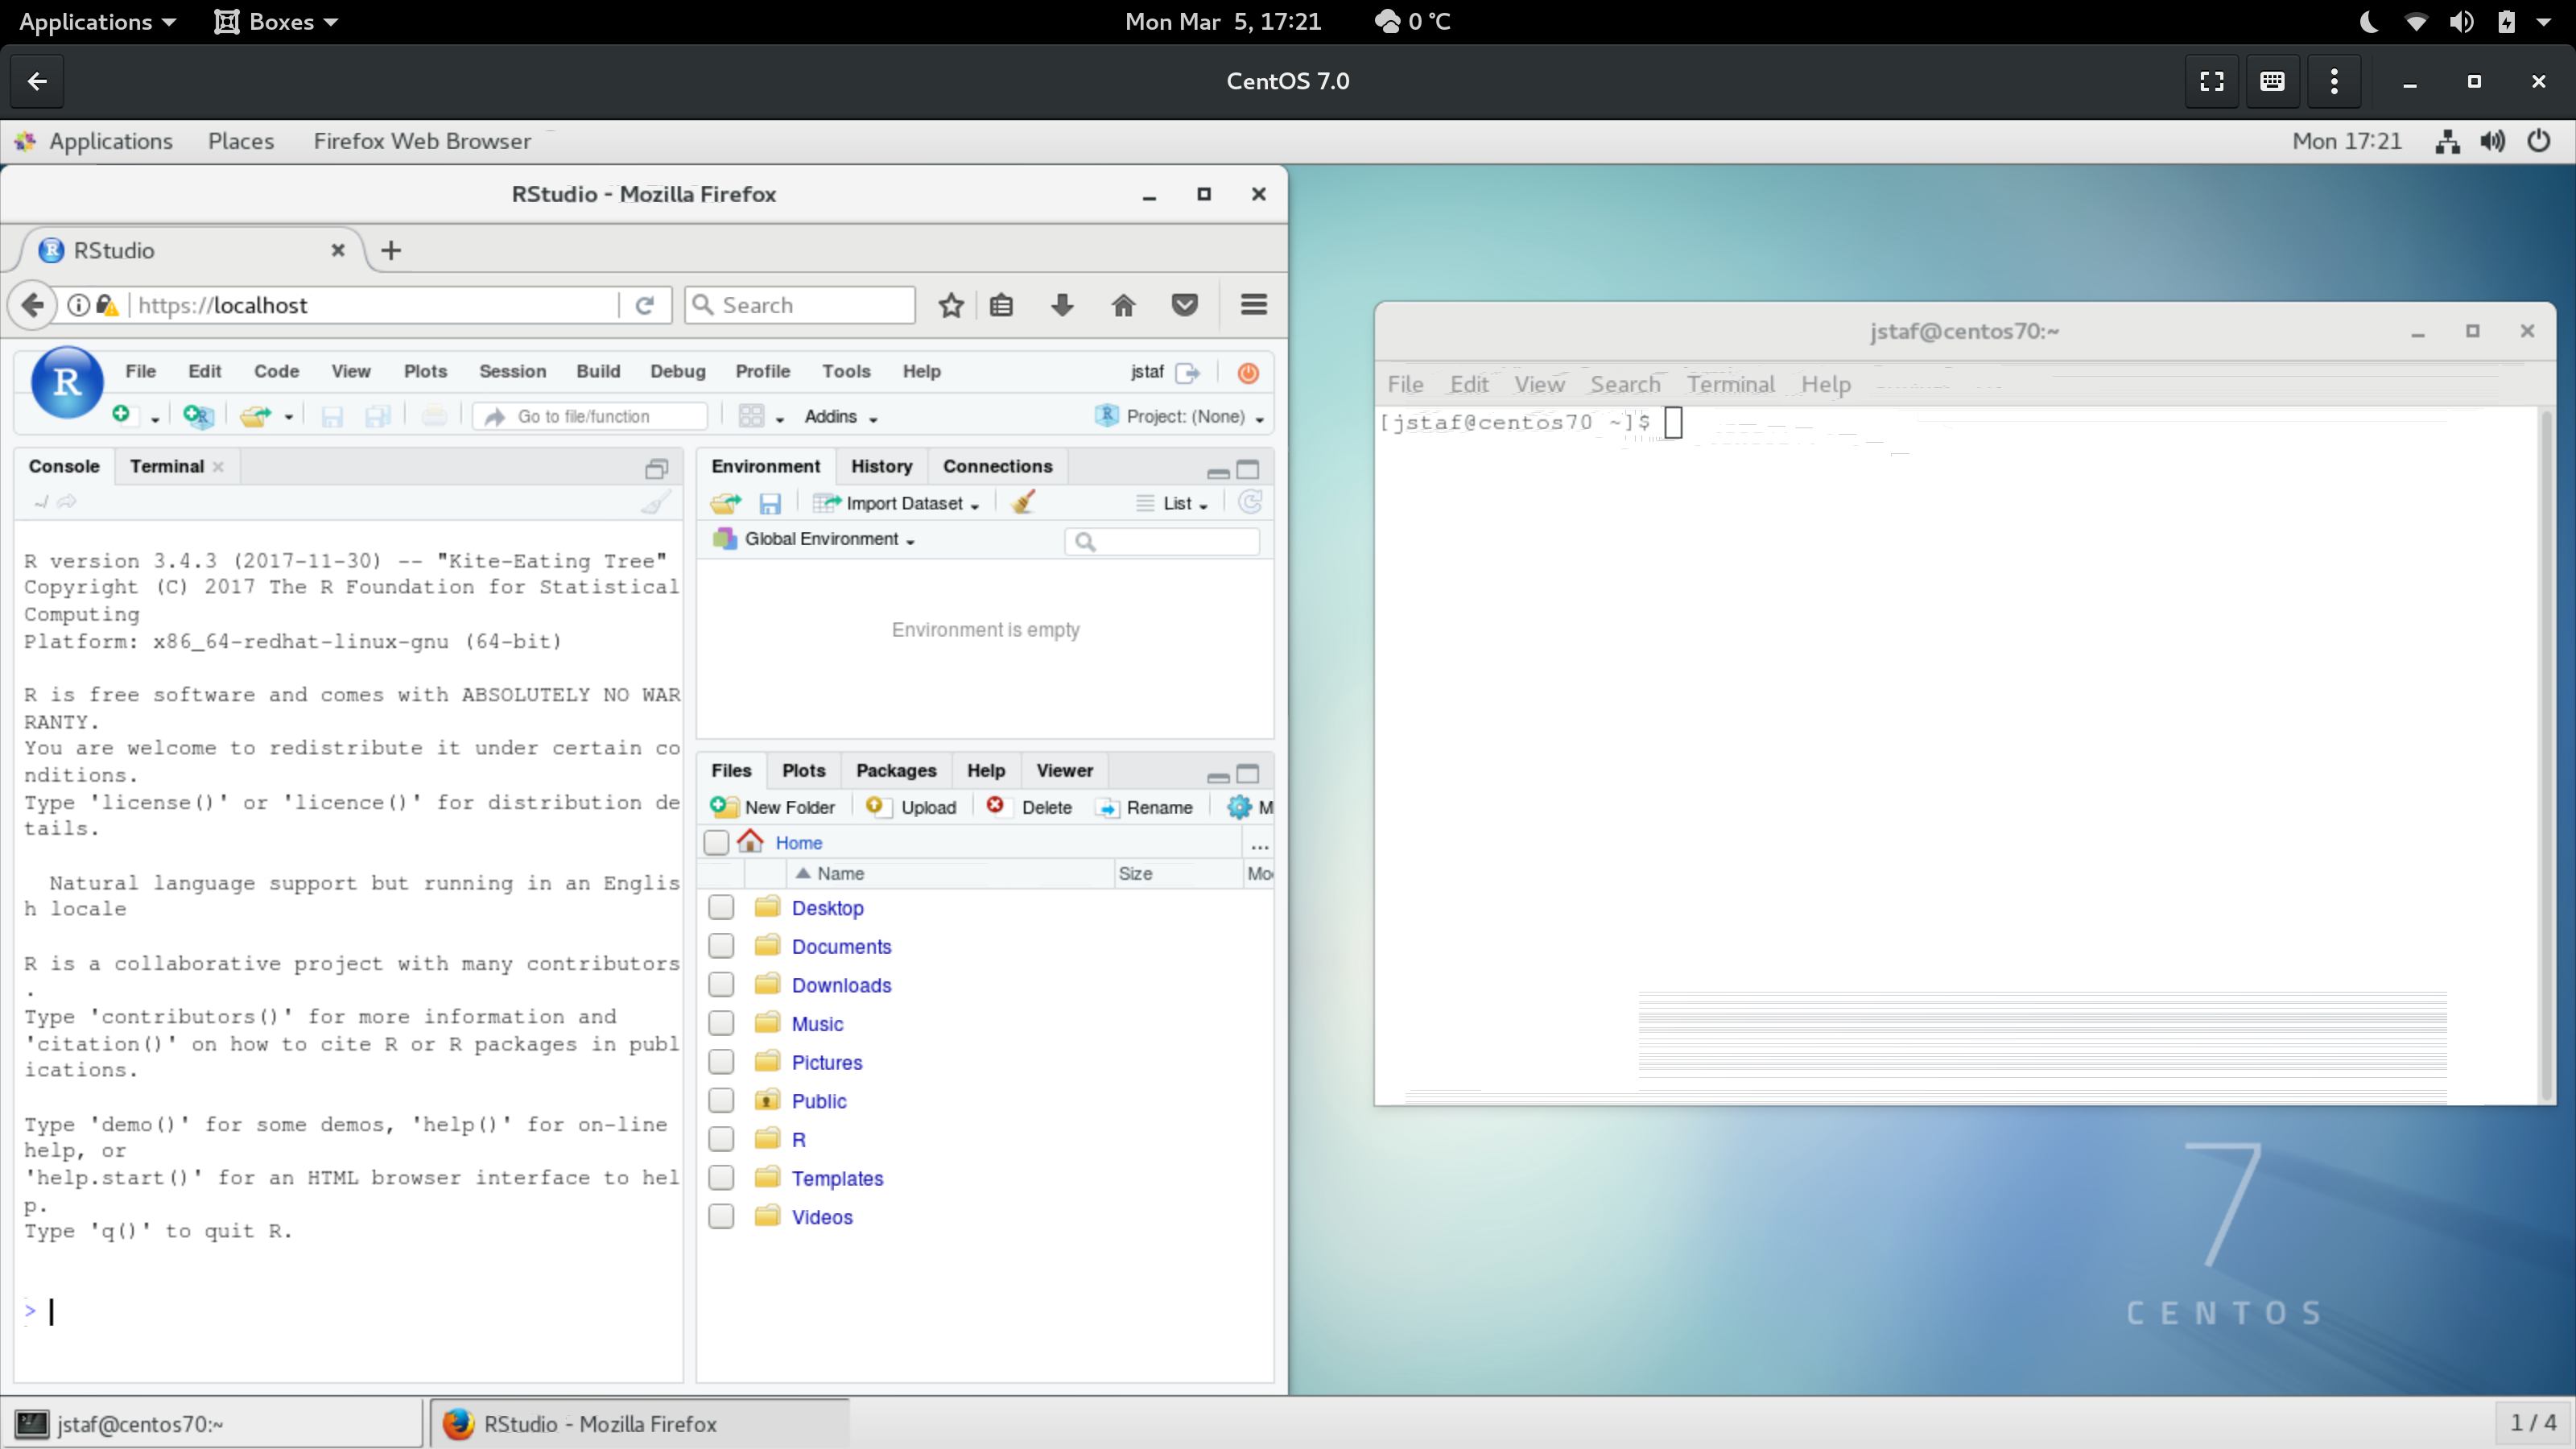
RStudio should now be available over HTTPS when you visit the server. Additionally, it will redirect from HTTP and force HTTPS automatically if someone tries to visit the HTTP link.
Set up resource limits⌗
RStudio Server has a critical bug where any user who loads more than 5-10GB of data will be permanently locked out of their session. RStudio will attempt to save this session to disk when it becomes inactive, and then upon resuming the session, it will timeout and fail to load. The user will be locked out of their session. To get around this issue, we’ll need to setup some resource limits (this will also prevent one user from dominating all the memory on the system, of course).
Although RStudio Server Pro has a lot of nifty utilities for implementing resource limits, the Linux kernel does it better. We’ll set some resource limits to bypass the above above bug.
Resource limits on Linux are set in /etc/security/limits.conf. To set a
memory limit of 8GB for all non-system users, add the following line to the
file:
1000: - as 8388608
Let’s break down the line above - it generally follows the format of:
who_to_apply_limits_to type_of_limit resource_to_limit limit_value
For the who_to_apply_limits_to value, we can specify a user (just use the username),
a group (specified as @groupname), or a range of users/groups
(to use uid numbers, follow the format min_uid:max_uid).
In this case, we have applied the limit to all users with uids greater than 1000.
System users on Linux generally are numbered below 1000,
and new users created by useradd/LDAP (i.e. real users) will always have uids
higher than this value.
Using 1000: will apply the limits to all non-system users.
As for the type_of_limit, this can be either hard or soft.
hard limits are binding, and can not be altered by users.
soft limits can be changed by users using the ulimit command,
up to the value of the hard limit.
The soft limits are in effect by default.
As far as users are concerned, none of them are going to know or care about the ulimit command.
Because of this, we might as well set both the hard and soft limits to the same value.
There’s a neat shortcut for this - we can specify both limits at the same time using -.
There are a lot of different resource limits, which one do we use?
To make a very long story short, the only limits we are usually interested in are
as (memory limit),
nofile (open files, often needs to be increased for Hadoop/Spark),
and nproc (number of processes a user is allowed to start).
In this case we want to set a memory limit using as.
Finally, the limit value is different depending on what limit are you trying to set.
In the case of as, the limit is in kilobytes.
(If one were to calculate a reasonable memory limit in kilobytes in R: gb * 1024 ^ 2).
In this case, we set a memory limit of 8GB with the value of 8388608 (KB).
To make a long story short, we’ve set a memory limit of 8GB for all human users on the system.
But wait, you may have tested this out and found it does not actually apply the memory limits!
(You can use object.size(some_variable) to check the size of an object in R.
If a memory limit is hit, it will display Error: cannot allocate vector of size <some size>.)
Why not?
As it turns out, session limits set in /etc/security/limits.conf are applied
only if the following line is present in the PAM config users logged in as.
In order to apply resource limits to RStudio,
you should add the following to /etc/pam.d/rstudio:
session required pam_limits.so
This line enforces resource limits on user sessions using PAM.
Without it, user sessions started using /etc/pam.d/rstudio
will not respect the limitations in /etc/security/limits.conf.
Once set, you can use /etc/security/limits.conf to apply whatever resource
limits you want to RStudio.
For reference, an example /etc/pam.d/rstudio might now look like the following:
#%PAM-1.0
auth      requisite      pam_succeed_if.so uid >= 500 quiet
auth      include        password-auth

account   include        password-auth

session   required       pam_limits.so
Summary⌗
Over the course of this article, we’ve done the following:
Installed R and development headers necessary for the
tidyverseanddevtoolspackages.Installed RStudio Server Open Source Edition.
Setup RStudio’s PAM config to authenticate all users on the server, including network/LDAP users.
Hosted RStudio on a standard port (no port 8787 weirdness).
Hosted RStudio so that all traffic between the user and the server is encrypted over HTTPS.
Used resource limits and PAM to enforce resource limits to RStudio users.
To make a long story short, we have applied multiple features from RStudio Server Pro, including: authentication of network/LDAP users, secure communication over HTTPS, and resource limits for RStudio sessions. To underscore this, this is ten thousand dollars per year worth of features.
So why buy RStudio Server Pro? As of this blog post, RStudio Open Source Edition has all the key features of the Pro version, except for the following:
Multiple sessions
Multiple R versions / custom R initialization logic (such as loading environment modules on an HPC cluster)
A very nice admin dashboard (that is not to be underestimated… hnggggg)
Load-balancing across multiple servers
Supports the RStudio team financially
If one of these features is important for you, please buy RStudio Server Pro and support the RStudio team. If not, the suggestions covered in this post will allow you to use RStudio Server Open Source for any small- to medium-scale RStudio Server deployment. Enjoy!